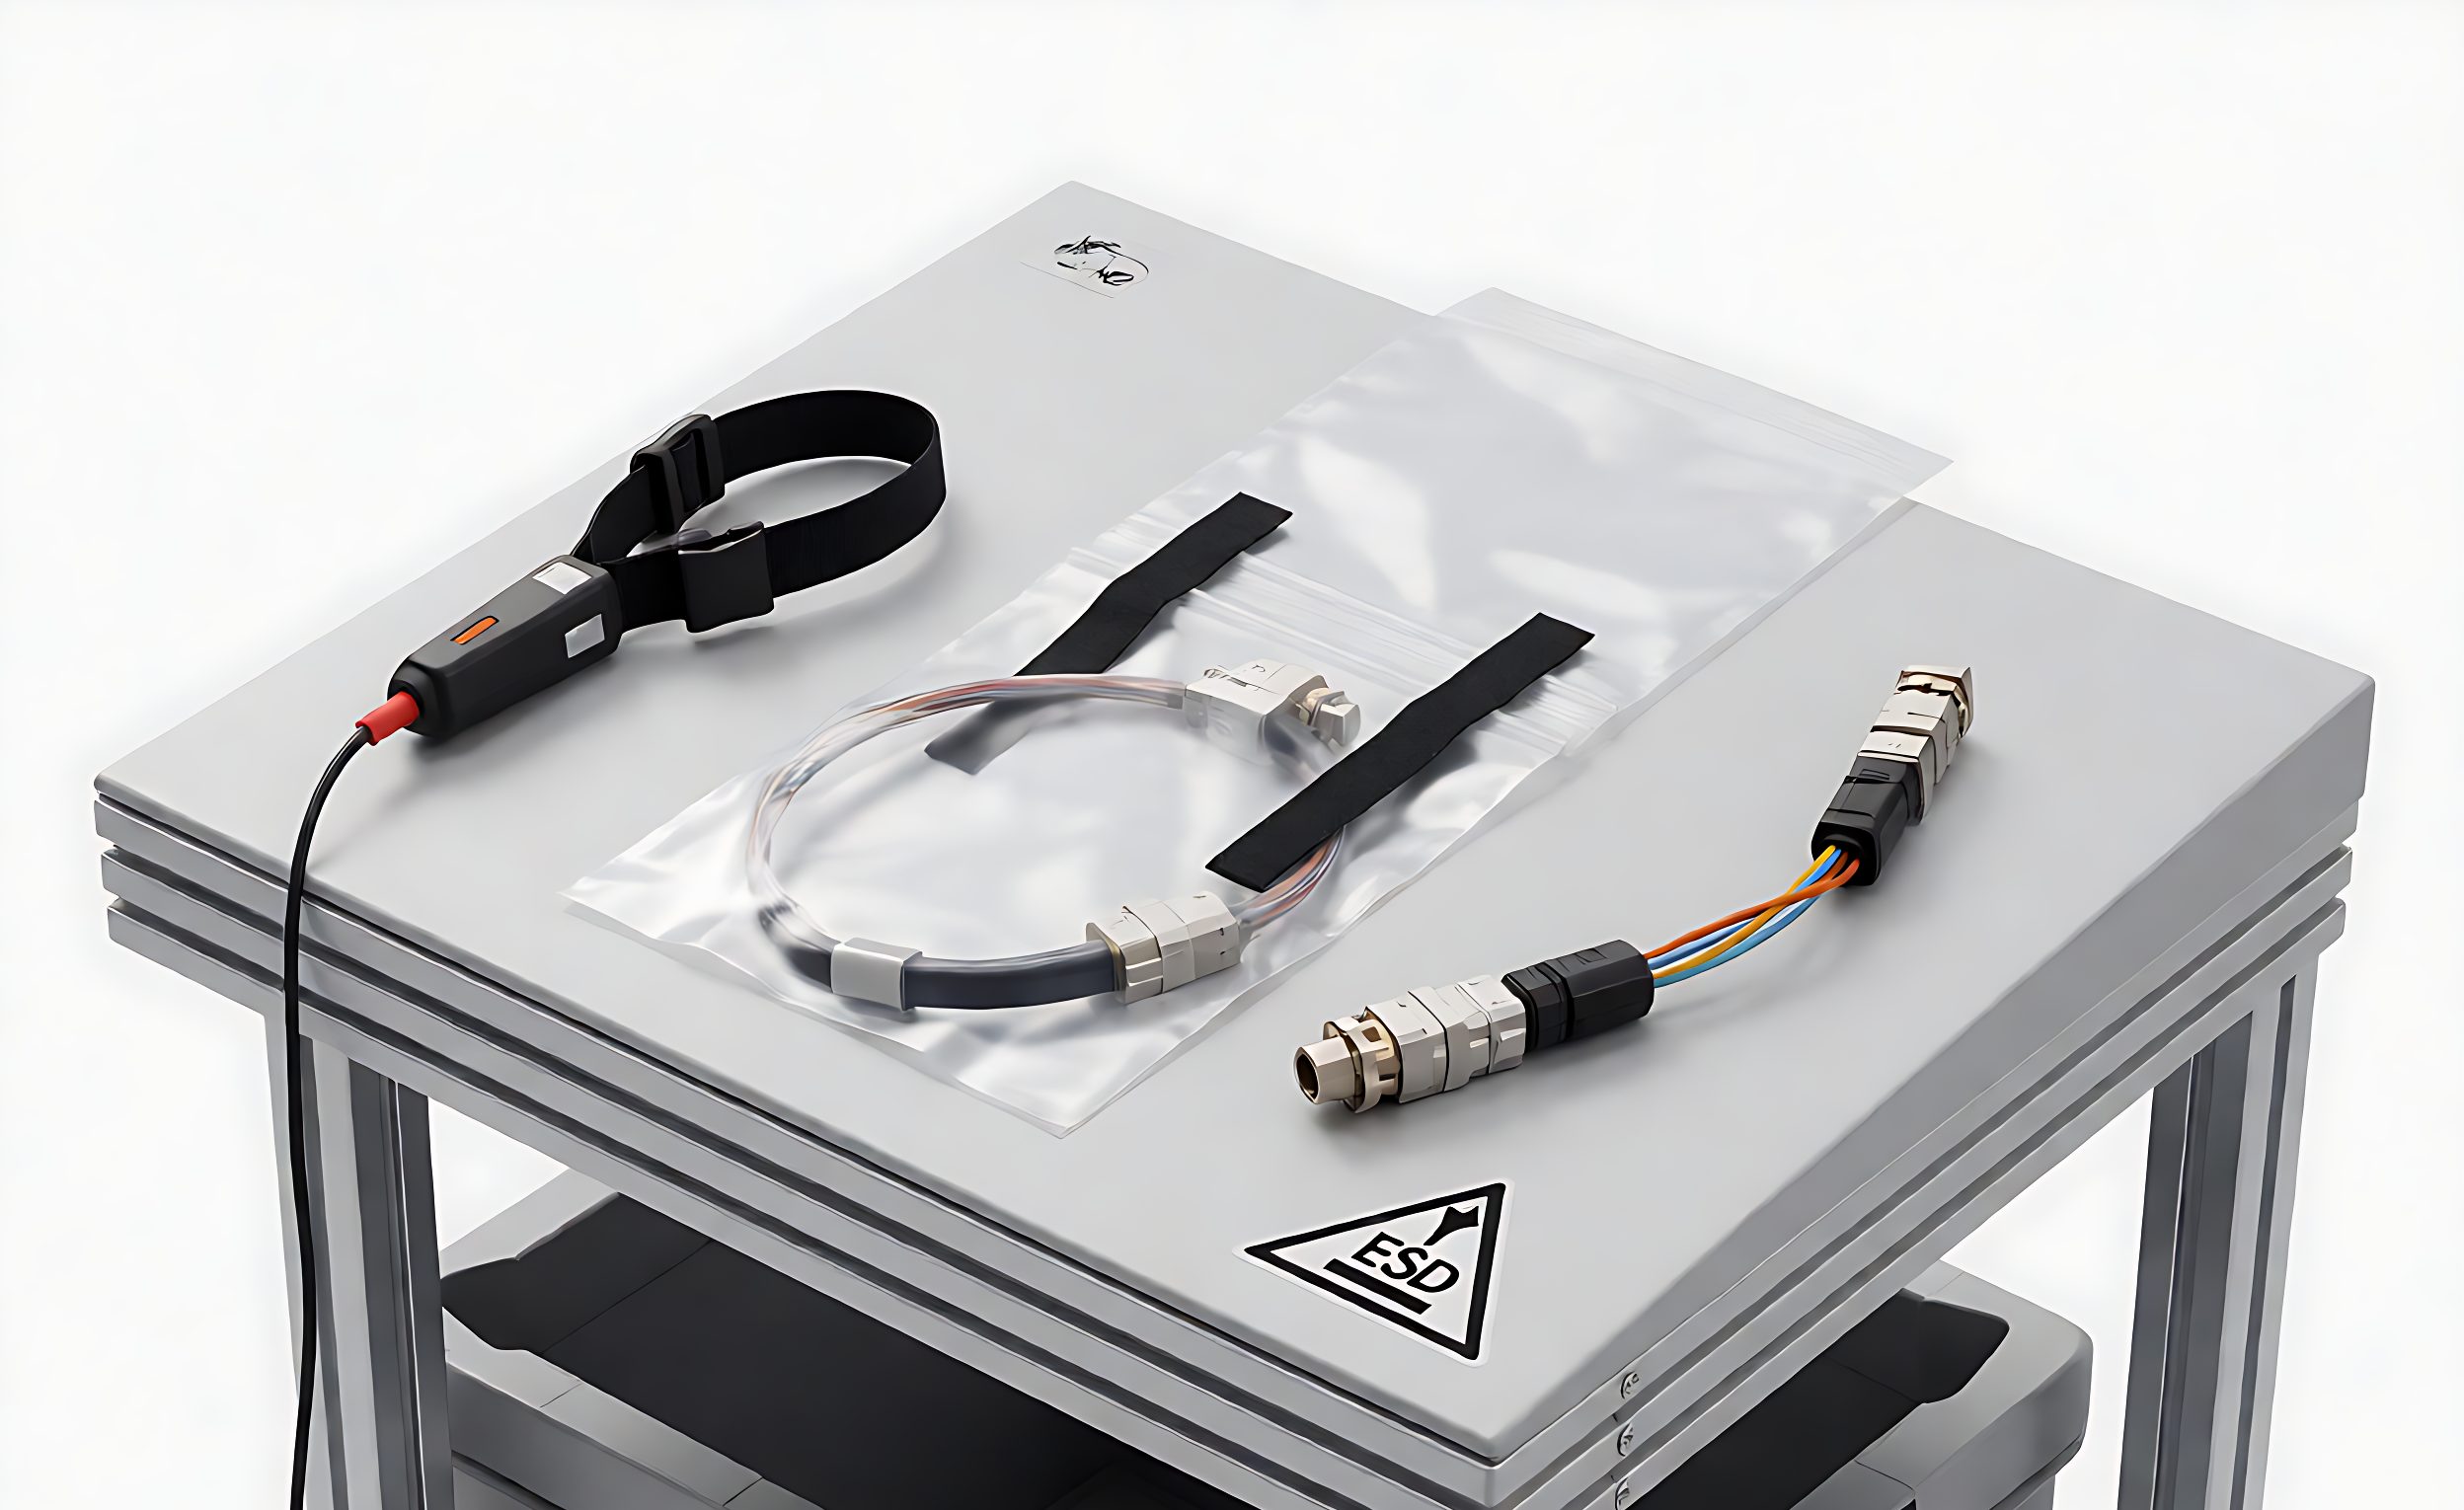
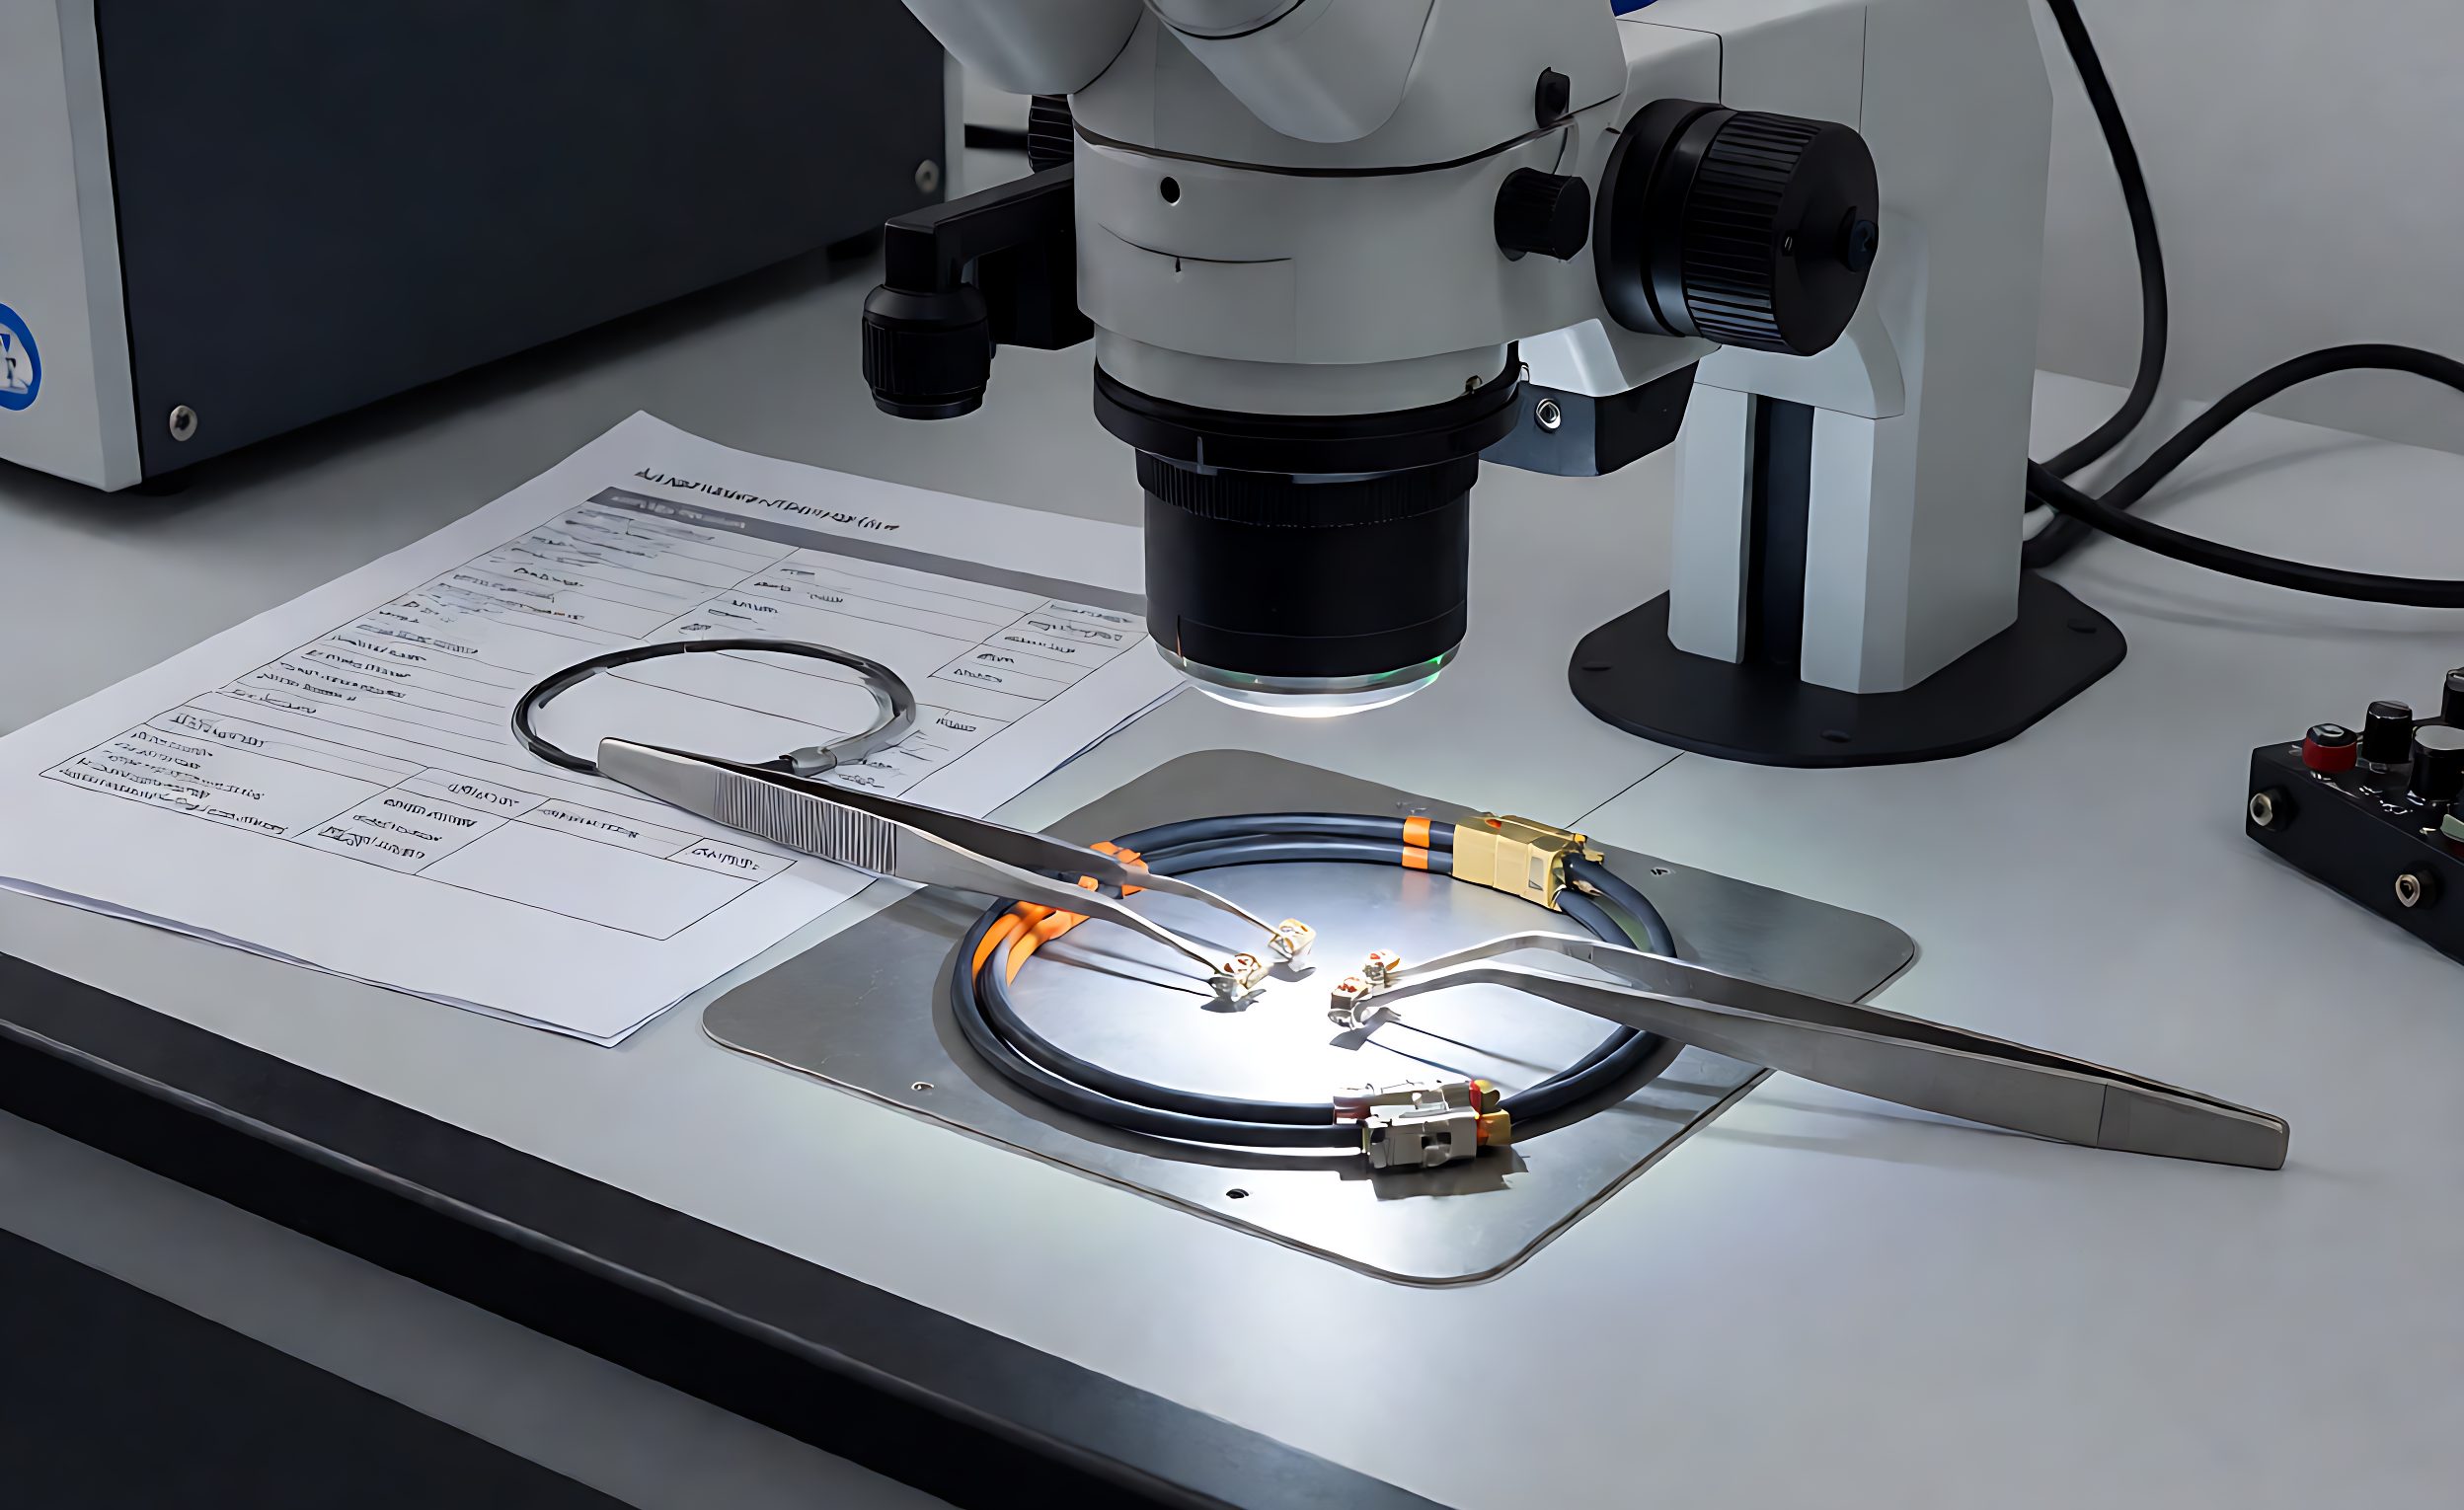
A returned assembly carries the answer to why it failed, and the first person to handle it usually destroys that answer. Cutting the connector off to test the cable, pulling on a suspected termination, or cleaning away corrosion removes the evidence that identified the cause. What remains is a symptom, and the investigation then proceeds on guesswork.
Failure analysis is not exotic. It is a sequence – observe, document, test non-destructively, then section – applied in that order because each step is irreversible.
Separate the Symptom From the Cause
The reported symptom is what the user experienced: intermittent connection, no power, intermittent data errors, visible damage. The cause is what produced it, and the same symptom has several possible causes. An intermittent connection can come from a cracked solder joint, a worn contact, a conductor fractured inside the insulation, or a strain-relief design that let flexing reach the termination.
Each cause has a different corrective action. Replacing the assembly fixes the symptom in all four cases and prevents recurrence in none of them, which is why returns keep arriving.
Start by establishing the conditions: where in the installation the part sits, how it is routed and supported, what motion it sees in use, and how long it ran before failing. Field context frequently identifies the cause faster than any test.

The Investigation Sequence
1. Document as received. Photograph the whole assembly, then the suspect area, before touching it. Note any bend set, discolouration, or contamination.
2. Non-destructive electrical testing. Continuity and insulation resistance, then a flex test where the assembly is moved while monitored. An intermittent that appears only under movement points to a conductor fracture or a cracked joint rather than to an open contact.
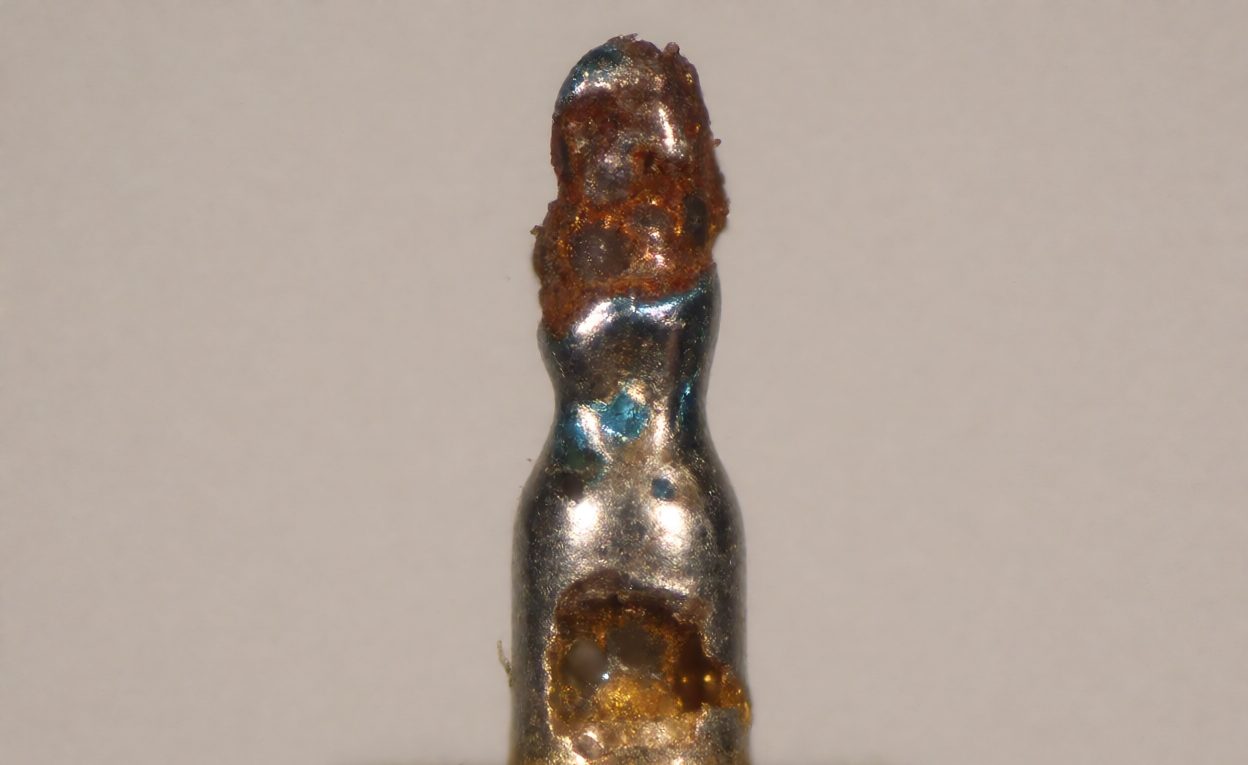
3. Visual inspection at magnification. Look at the termination, the crimp or solder fillet, the strain relief and the jacket at the point where flexing occurred. Cracked joints and incomplete crimps are usually visible.
4. Section only when necessary. Cutting back the jacket to expose the conductor is destructive and should come after the tests above, not before them.
5. Confirm by reproduction. Once a hypothesis exists, reproduce it: flex a sample the same way, apply the same load, or run the same thermal cycle. A cause that cannot be reproduced has not been established.
The Causes That Recur
Four mechanisms account for most field failures:
- Flex beyond the strain relief. The assembly is bent at the point where the cable enters the connector, and the conductor work-hardens until it fractures.
- Inadequate strain relief design. Load is carried by the termination rather than by the jacket, so normal handling stress reaches the joint.
- Contamination or corrosion on contacts, which presents as intermittency and is often mistaken for a conductor problem.
- Assembly damage during installation, particularly crushed jackets and bent pins, which is why a share of field failures are not product failures at all.

Technical Background
The discipline is failure analysis, which determines why something failed rather than merely that it did. Structured anticipation of failure modes is formalised as failure mode and effects analysis, and the search for the originating cause is root cause analysis – the step that distinguishes a replacement from a fix.
Turning Findings Into a Specification Change
An investigation is only worth the effort if it changes something. The three outcomes that matter: a design change to the assembly, a change to how it is installed or supported, or a change to the incoming test that would have caught the defect before shipment.
The third is often the cheapest. If a failure mode is visible under magnification or detectable by a flex test, adding that check to incoming inspection prevents recurrence without redesign – and it applies to every future shipment rather than only to the failed batch.
One discipline makes the process worthwhile: keep the failed part. A labelled store of failed samples, each with the finding attached, becomes the reference library for the next investigation and the training material for the next engineer. Discarding the evidence once the report is written resets the learning every time. Equally, share the finding with the supplier where the cause was theirs, since a supplier that sees the actual failed part and the analysis responds more durably than one that receives only a claim number.
Record the finding in one place, in plain terms, with the photograph attached. Reports that live only in an email thread are lost, and the next engineer repeats the investigation from scratch.
Failure analysis connects to the test evidence described in the test reports an OEM should provide and to mechanical expectations in the bend radius guide. Connector wear is discussed in connector durability, geometry and retention in specifying geometry and retention, and process controls in certified process quality control.
FAQ
What is the first step in failure analysis?
Document the part exactly as received, before touching or cutting anything, because handling destroys the evidence that identifies the cause.
Why reproduce the failure?
Because a cause that cannot be reproduced has not been established, and an unverified hypothesis leads to the wrong fix.
What causes most intermittent faults?
Conductor fracture inside the insulation or a cracked termination, both of which typically appear only when the assembly is flexed.
When should a cable be sectioned?
After non-destructive electrical testing and visual inspection, because sectioning is irreversible.
Are all field failures product failures?
No. Installation damage – crushed jackets, bent pins – accounts for a meaningful share and needs a different corrective action.
What is the cheapest preventive action?
Often an incoming inspection check that would have caught the defect, because it applies to all future shipments.
Should I just replace failed units?
Replacement addresses the symptom. Without cause identification the same failure returns in the next batch.