Quick answer: A cable harness drawing should identify each connector, pin or circuit mapping, orientation, finished length, routing path, branch points, labels and revision. Confirm the interface against the system owner’s approved documentation, then review the drawing with a representative harness or fixture. Keep open assumptions visible and require approval for changes that affect fit, connection or test evidence.
1. State the equipment and connection path
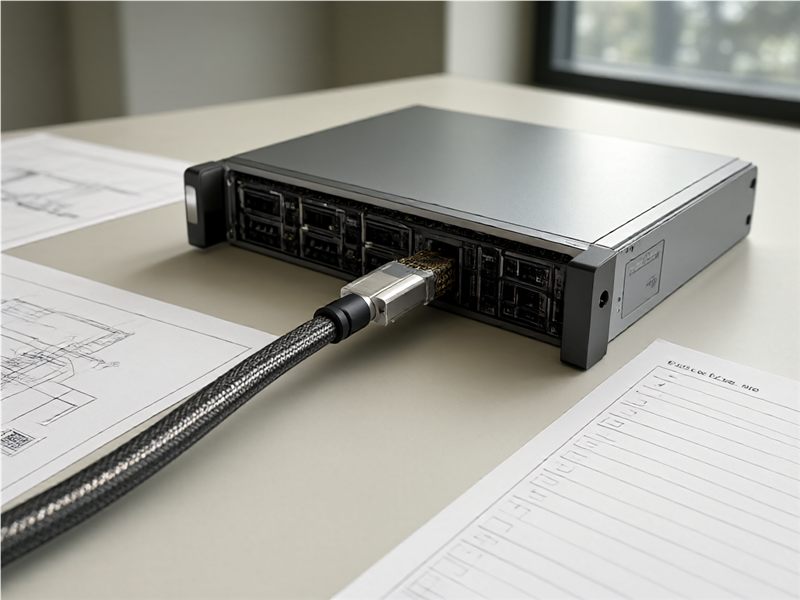
Identify the equipment, assembly and function served by the harness. Show where each end connects and which system drawing or interface record controls the connection. If the project uses an internal name or abbreviation, define it on the drawing. Describe whether the harness is installed once or removed during service, and note adjacent components that constrain its path. This application context helps the supplier review connector choice and routing together. A part label alone cannot tell the builder where the harness begins, ends or what the installed route must avoid.
2. Identify every connector end clearly
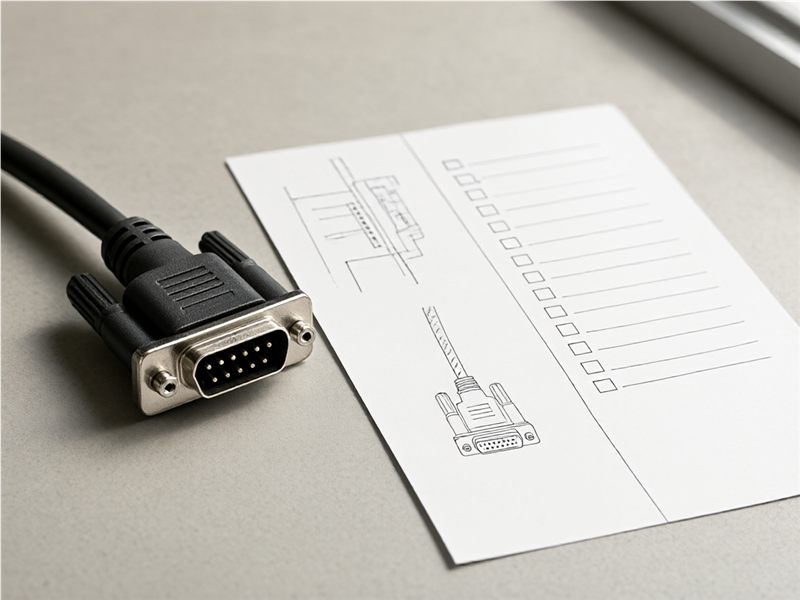
List the connector at each end separately and provide the supplier part number or approved reference, keying, shell and latch details where applicable. Add a view direction that makes orientation unambiguous. Show connector exit direction and any required backshell or strain relief. If mating hardware is part of the harness, identify it rather than assuming another party supplies it. Similar-looking connectors can differ in keying or contact arrangement, so confirm the interface before the drawing is released for quotation.
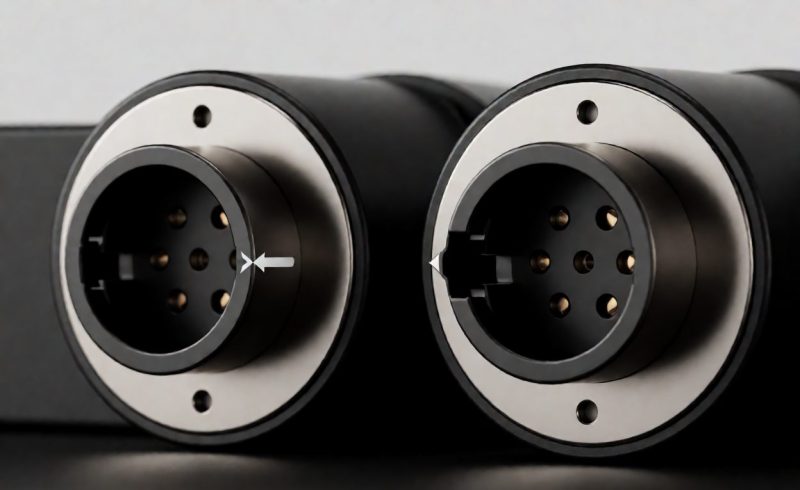
3. Make pinout and circuit mapping unambiguous
Create a table that connects each cavity or pin to the required circuit, wire color or destination. Specify the viewing direction used for the connector diagram and keep the same reference across both ends. Mark unused positions where that information matters. Have a second reviewer compare the pinout with the released system documentation and intended mate. Do not rely on wire color alone to establish electrical function. A controlled mapping reduces ambiguity for quotation, sample review and production test.
4. Define length from a clear measurement reference
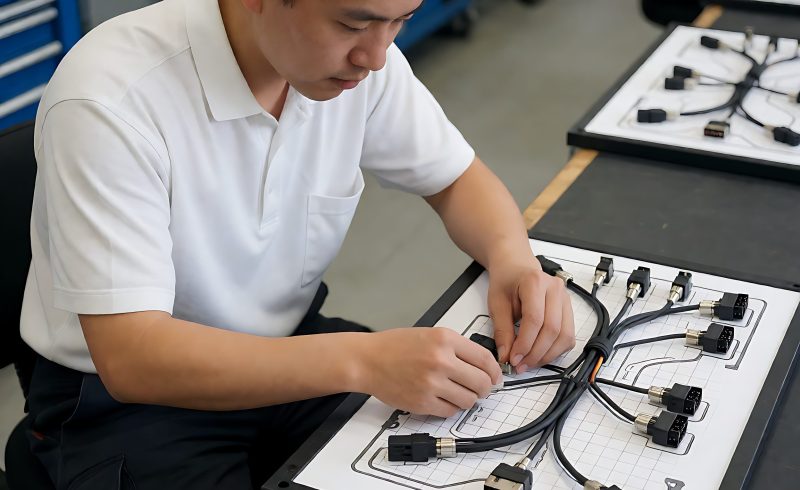
State the finished length and identify the measurement points at each connector. Show branch lengths and breakout positions for a multi-leg harness. Record whether the dimension follows the cable centerline, jacket surface or another agreed reference. Account for connector backshells, service loops, clips and bends in the installed route. A flat-table measurement may not match the length needed in an enclosure. Use a representative layout to check reach and service access before approving a sample.
5. Draw the route and identify mechanical conditions
Show the intended path through the equipment, including clamps, grommets, openings, support points and areas near other components. State whether the route is static or moves during normal use. Ask the system owner to supply any bend, abrasion, temperature or environmental requirement that applies. Do not infer limits from a generic cable description. Mark unknown conditions as open items and assign an owner. A visible route lets engineering identify a conflict before the harness is built to an impractical length.
6. Specify wire, shield and protection details
List the construction attributes required by the project drawing, such as conductor, insulation, jacket, shield or sleeve, and cite the approved source for each one. If the supplier proposes an alternate, request a comparison and written approval before sampling. Show how the shield or ground connection is terminated where the system requires it. Keep mechanical protection and electrical function linked to the same revision. A construction summary is easier to review than a generic note for an unspecified cable.
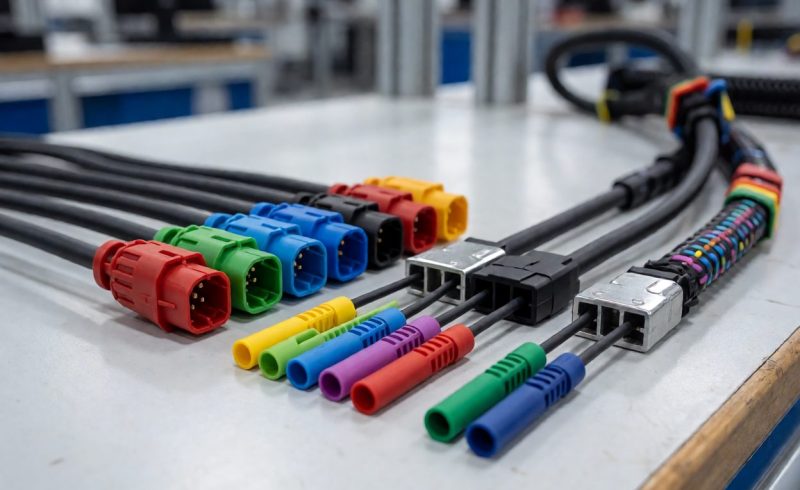
7. Define labels, test points and production checks
Specify label content, location, orientation and durability expectations. Identify the harness revision and item code that must appear in records. List production checks required by the approved specification, such as continuity, pin mapping, open or short detection, mechanical fit or other agreed evidence. State which results are supplied per sample or lot and how a nonconformance is reported. Match each test to its engineering owner and retain the record with the harness revision.
8. Release the drawing under revision control
Add drawing number, revision, date, author and approval status. Identify changes that require review: connector, pinout, length, branch geometry, construction, label or test method. Keep the approved sample and final drawing connected to the purchase order. If a sample needs adjustment, revise the drawing and repeat affected checks before production. Archive superseded revisions so a field harness can be identified later. This prevents an informal supplier clarification from becoming an undocumented production change.
For buyers comparing available product and supplier options, see cable assembly information.
Questions buyers often ask
What makes a cable harness pinout drawing clear?
It identifies connector ends, view orientation, cavity mapping, circuits and the released system reference used to approve the connection.
How should finished length be measured?
Define the endpoints and measurement path, including backshells, bends, branches and service loops required by the installation.
Can a supplier change a connector to a similar type?
Require a system-owner review and written approval of interface, fit and test evidence before accepting a substitute.
What should be retained after drawing approval?
Keep the controlled drawing, approved sample, test plan, revision record, label specification and purchase reference together.